CCM Scan
Overview
The Scan tab is the primary area within the Cookie Scanning and Auto Blocking page used to configure, initiate, and manage website scans. It provides all the options required to control how a website is scanned, including scan execution, scheduling, crawl behavior, exclusions, and automatic Data Map creation.
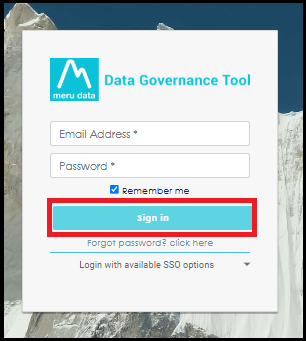
- Login to the Data Governance Tool by entering your credentials.
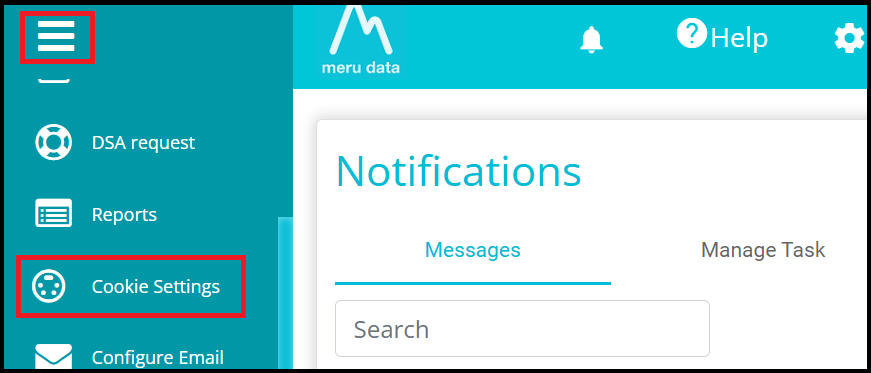
Click on the hamburger menu (three horizontal lines).
Navigate to Cookie Settings from the left-hand menu.
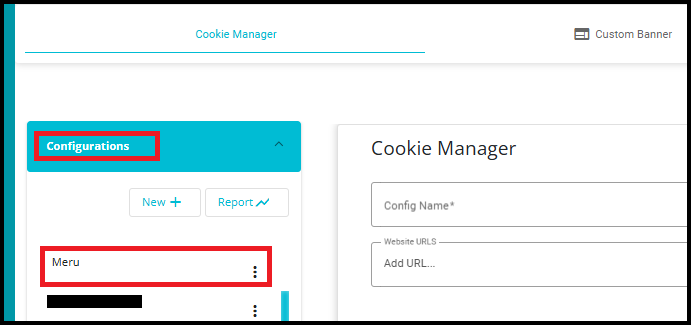
- In the Configurations section, click on any existing configuration.
- After selecting a configuration, click the Go To Scan button.

- Alternatively, click the three-dot (More Actions) menu next to the configuration name and select Scan and Autoblock.
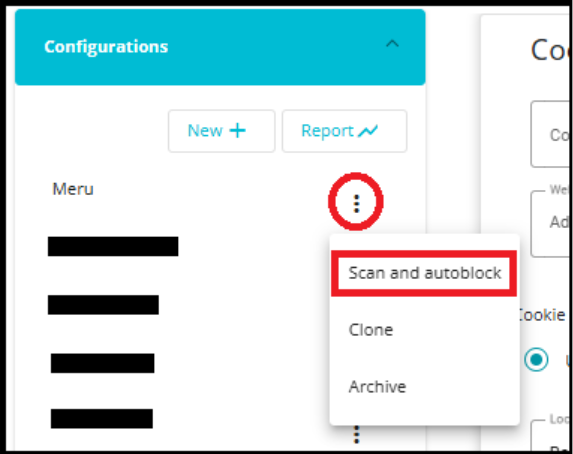
- Whether you click Go To Scan or select Scan and Autoblock from the More Actions (three-dot) menu, the system navigates you directly to the Cookie Scanning and Auto Blocking page associated with the selected configuration.
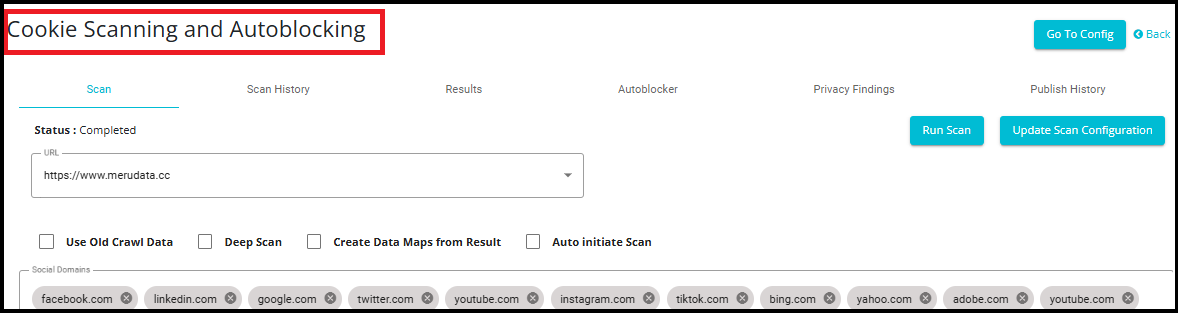
Scan Tab
The Scan tab is the primary screen used to initiate and monitor website scans.
Scan Status -- Displays the status of the scan for the selected website. This helps you quickly determine whether the scan has been completed, is in progress, or is pending.
URL -- Displays the website URL selected for scanning. If multiple URLs are configured, you can select the required website from the dropdown list.
Run Scan -- Click Run Scan to start a new scan for the selected website. The system will begin scanning the website and collecting cookies, vendors, and privacy-related information.
Update Scan Configuration -- Click Update Scan Configuration to modify the scanning settings for the selected website. This option allows you to update scan parameters and configuration details before running subsequent scans.

Use Old Crawl Data
- The Use Old Crawl Data option allows the scan to reuse data collected during a previous website crawl instead of performing a new crawl of the website. This can significantly reduce scan time and improve performance, especially for large websites where the page structure has not changed.
Example
Suppose you run a scan on a website for the first time, and the system identifies 50 cookies across the site.
Later, if you run another scan and enable Use Old Crawl Data, the system will use the previously collected crawl information and scan data associated with those 50 identified cookies, rather than crawling the entire website again.
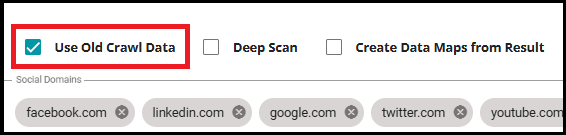
Do not select Use Old Crawl Data when:
The configuration is new, and the scan is being initiated for the first time.
No previous crawl data exists for the selected website.
Deep Scan
The Deep Scan option performs a more comprehensive scan of the website by crawling additional pages and collecting more detailed information than a standard scan. This option is useful when you want broader coverage of the website and need to identify cookies, vendors, and privacy findings across a larger number of pages.
The Scan Limit field controls how many pages the scanner can crawl during a deep scan.
Example
Suppose your website contains several sections, including:
Home page
Product pages
Blog articles
Privacy policy pages
Support pages
A standard scan may analyze only a limited set of pages and identify 50 cookies.
If you enable Deep Scan and set the Scan Limit to 200, the scanner will crawl up to 200 pages across the website. As it explores additional pages, it may discover cookies and privacy findings that exist only on specific blog pages, support sections, or application pages that were not included in the standard scan.

Create Data Maps from Result
The Create Data Maps from Result option automatically generates Data Maps based on the information discovered during the website scan.
When this option is enabled:
The system analyzes the scan results after the scan is completed.
Cookies, vendors, privacy findings, domains, and other discovered data elements are used to create data map records automatically.
This reduces manual effort by eliminating the need to create data maps individually after reviewing the scan results.
The generated data maps can then be reviewed, updated, and utilized for privacy, compliance, and data inventory purposes.

Hierarchy Chart
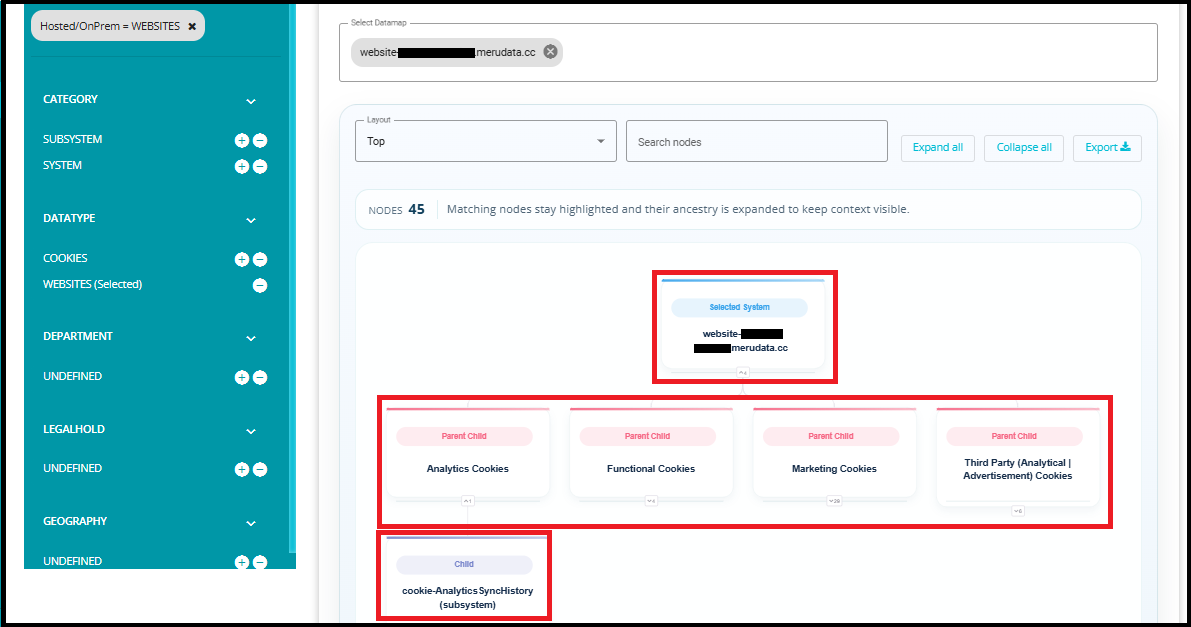
When Data Maps are generated from scan results, a relationship is automatically created between the website and the cookies identified during the scan.
The Website is considered the Parent.
The Cookies identified for that website are considered Children.
The Cookie Category (Functional, Analytics, Advertising, social media, etc.) is used as the Relationship Type between the parent website and child cookies.
Example
Viewing Data Maps Created from Scan Results
Navigate to the Data Maps module.
In the upper-right corner of the screen, select the required view from the dropdown:
Dashboard
Processing Activity Chart
Hierarchy Chart

Use the search box or filters to locate the Data Map created from the scan result.
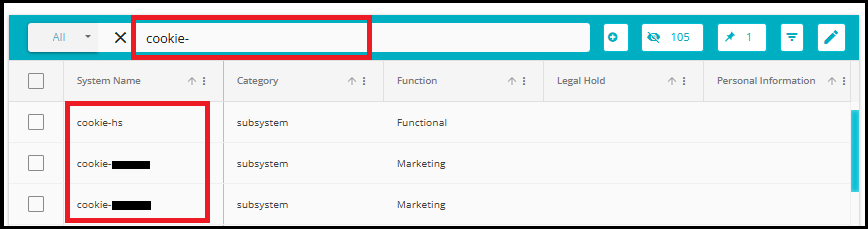
Cookie Data Maps are created using the naming convention: Cookie-Cookie Name
Example: Cookie-hs
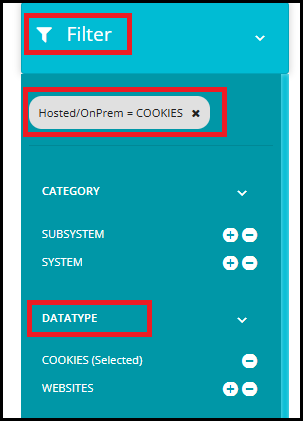
Alternatively, you can use the filter: Hosted/On-Prem = Cookies
This displays all Data Maps that were automatically created for cookies identified during website scans.
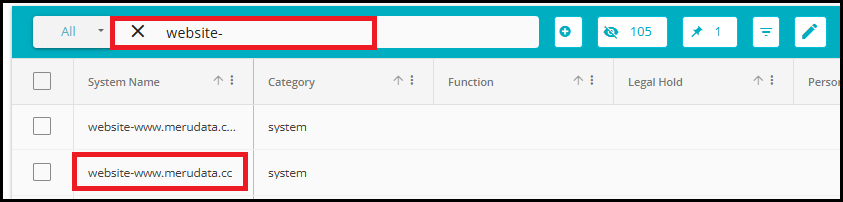
- Website Data Maps are created using the naming convention: Website - Website URL
Example:
Website URL: https://www.merudata.com
Data Map Name: Website--[www.merudata.cc]
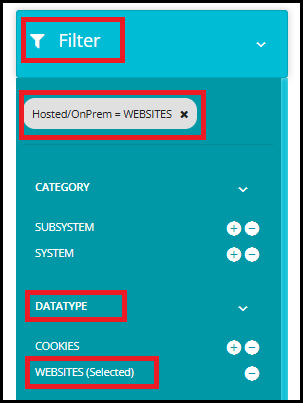
Alternatively, you can use the filter: Hosted/On-Prem = Websites
This displays all website Data Maps created from scan results.
Select the required Data Map from the search results.
Depending on the selected view, you can access the complete Data Map information, view its Processing Activity Chart, or examine its Hierarchy Chart.
Auto Initiate Scan
The Auto Initiate Scan option allows you to schedule scans to run automatically at predefined intervals instead of manually clicking the Run Scan button each time.
When Auto Initiate Scan is enabled, two additional fields become available:
- Frequency: The Frequency dropdown determines how often the scan should run automatically. Options include Weekly, Bi-Weekly, Monthly, NA, Quarterly, Half-Yearly, and yearly.
- Select the frequency that best matches your monitoring and compliance requirements.
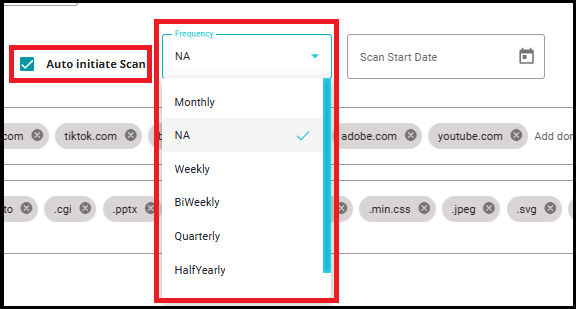
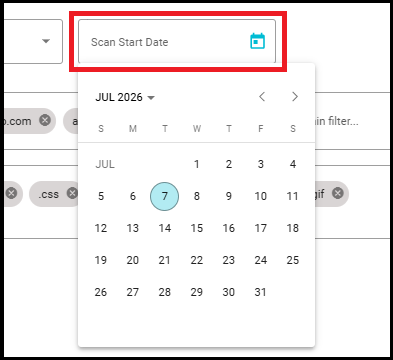
- Scan Start Date: The Scan Start Date field allows you to specify the date on which automated scanning should begin.
- Once the selected start date is reached, the system automatically initiates scans according to the configured frequency.
Example
Suppose you manage a website that regularly introduces new third-party services, cookies, and tracking technologies. To ensure that cookie and privacy information remain up to date, you decide to automate the scanning process.
You configure:
Auto Initiate Scan: Enabled
Frequency: Monthly
Scan Start Date: July 7, 2026
In this scenario:
The first scan will run automatically on July 7, 2026.
Since the frequency is set to Monthly, all subsequent scans will run automatically on the 7th of every month.
Each scan will identify newly added cookies, vendors, and privacy findings without manual intervention.
Notify Users
The Notify Users dropdown allows you to select one or more users who should be notified when a scan is completed.
- Click the Notify Users dropdown.

Select one or multiple users from the list.
Users can be added or removed at any time by updating the selection.

All selected users will be added to the notification list.
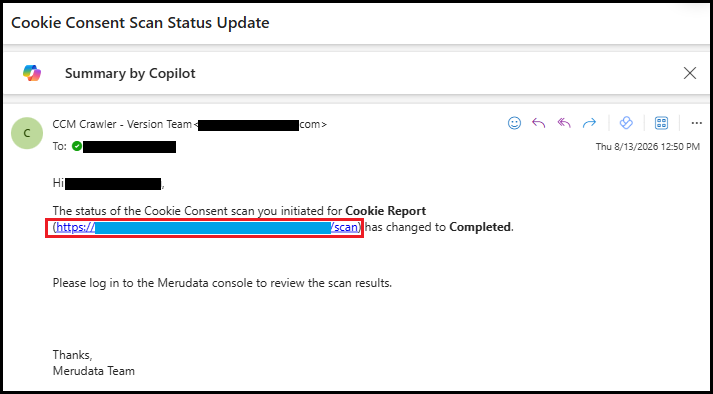
Once the scan completes successfully, the selected users receive an email notification.
The email contains the scan status and a direct link to the corresponding CCM Scan page.
Clicking the link navigates the user directly to the Scan tab for the associated configuration, allowing them to review the scan results immediately.
Using Multiple Scan Options Together
You can select multiple scan options simultaneously based on your scanning requirements. However, some combinations provide more benefit than others, while certain combinations may increase scan time without offering significant advantages.

Examples:
Recommended Combination: Auto Initiate Scan + Create Data Maps from Result
Automatically run scans on a scheduled basis.
Creates or updates Data Maps after each scheduled scan.
Ideal for continuous monitoring and compliance activities.
Combination to Avoid: Use Old Crawl Data + Deep Scan
Although both options can be selected together, this combination is generally not recommended.
Use Old Crawl Data is designed to speed up scanning by reusing previously collected crawl information.
Deep Scan performs a fresh and extensive crawl of the website to discover additional pages and content.
When Deep Scan is enabled, the system performs a comprehensive crawl and generates results based on that deeper scan. As a result, the benefit of Use Old Crawl Data is reduced, and selecting both options may increase processing time without providing additional value.
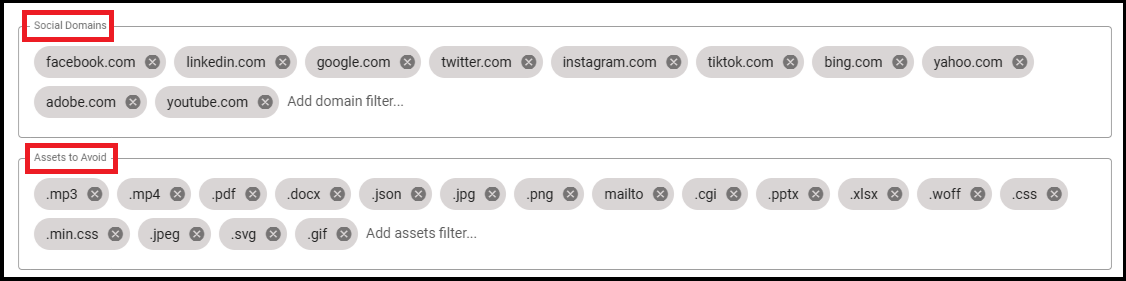
Social Domains
The Social Domains section is used to specify domains that should be ignored during the scan.
When a domain is added to this list, the scanner does not crawl or analyze content originating from that domain.
Assets to Avoid
The Assets to Avoid section is used to exclude specific file types and assets from scanning.
When a file type is added to this list, the scanner ignores those assets during the crawl.